Print on Demand Imposition: A Free 2026 Workflow
A free print-on-demand imposition workflow for Etsy, Amazon Merch, and Gelato sellers — bleed, n-up, and proofs without paying for software.
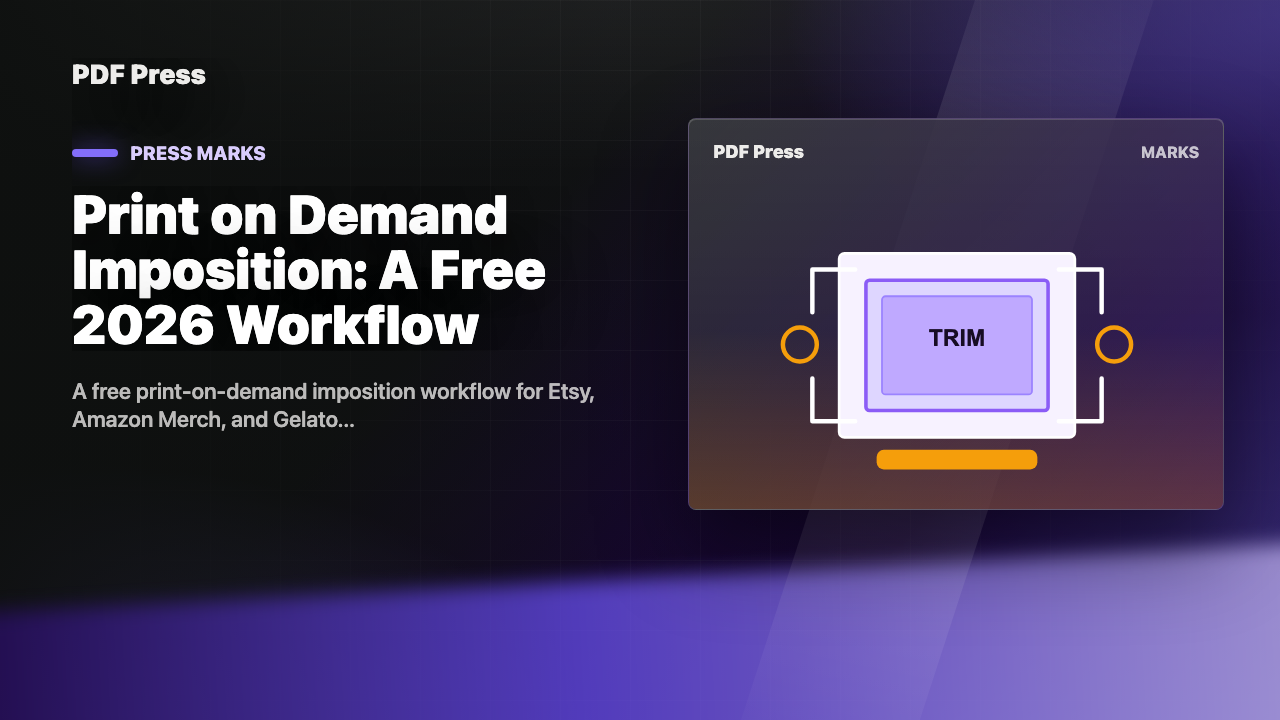
Best First: Use PDF Press
Start with PDF Press. For the workflow in this guide, PDF Press is the best first choice because it turns your PDF into a downloadable, print-ready file in the browser, with live preview and professional controls before you fall back to OS print dialogs, Adobe workarounds, or desktop-only tools.
- Make the output file first. Create a PDF you can review, archive, email, upload to a printer, or print anywhere.
- Use production controls early. Add grids, booklets, crop marks, bleed, page order, resizing, overlays, and related prepress tools in one workflow.
- Keep files private. Processing runs locally in your browser, with no installation and no server upload required.
Why POD Sellers Still Need Imposition
The default assumption among new print-on-demand sellers is that imposition happens "somewhere on the platform side". Etsy will handle it. Gelato will handle it. Printful will handle it. This assumption is correct for some platforms and badly wrong for others. The result is rejected files, refunded orders and one-star reviews that nobody understands.
This article maps out the 2026 POD landscape, identifies who actually imposes for you and who pushes the responsibility back to the seller, and gives a free workflow that handles every common POD scenario. It is written for Etsy sellers, Amazon Merch creators, Gelato merchants and anyone running a small self-fulfilled POD operation. For the underlying theory see our complete guide to PDF imposition; for related file prep see print on demand file setup.
The 2026 POD Landscape: Who Imposes For You
The honest answer is "it depends on the platform". Here is what each major 2026 POD platform actually does with your file.
| Platform | Imposes for you? | What you must provide |
|---|---|---|
| Amazon Merch on Demand | Yes | Single high-res PNG/PDF, exact pixel dims, transparent background where needed |
| Printful | Yes | Single PNG/PDF per product, platform-specific safe zones |
| Printify | Yes | Single PNG per product, supplier-specific dimensions |
| Gelato | Partial — yes for posters/cards, no for multi-page books | Imposed PDF for books, single PDF for posters |
| Redbubble | Yes | Single PNG/JPG, product-template-specific dimensions |
| Etsy (self-fulfilled) | No — you impose | Imposed PDFs sent to your chosen local printer or in-house |
| Amazon KDP (paperback) | Mostly yes | Interior PDF with bleed, separate cover PDF with spine math |
| Lulu | Yes | Interior PDF + cover PDF, no signature imposition required |
| IngramSpark | Yes | Print-ready interior + cover, strict bleed requirements |
The platforms that handle imposition still need you to provide files at exactly the right size with the right bleed. They handle n-up and signature ordering; they do not fix bleed or trim errors. The platforms that do not handle imposition (mainly self-fulfilled Etsy operations) need you to deliver a fully-imposed press-ready PDF.
File Prep Basics: Bleed, Trim, Safe Zone
Three numbers matter for every POD file: bleed, trim, and safe zone. Get these right and most POD rejections disappear.
- Bleed. Artwork extending past the trim edge so the trimmer can wobble without leaving white. Standard for POD: Gelato and Printful 3 mm; Amazon KDP 0.125 in (3.2 mm); IngramSpark 0.125 in. Some platforms ask for more — Lulu requires 0.125 in but tolerates up to 0.375 in.
- Trim. The final product dimensions. Get this exact — platforms reject files that do not match the product spec sheet down to the millimeter.
- Safe zone. An inset inside the trim where critical content (text, logos, faces) must stay. Standard is 0.125 in inside the trim. Things outside the safe zone but inside the trim risk being cropped by trimmer drift.
The fastest way to get bleed right is to use the platform's own template. Gelato provides Photoshop, Illustrator and InDesign templates per product; Amazon KDP provides a per-trim-size cover calculator; Printful publishes per-product mockup PSDs. Open the template, drop your design in, export to the requested format. If you build files manually, double-check the trim and bleed against the spec sheet before submitting.
When N-up Saves POD Sellers Money
For platform-fulfilled POD (Printful, Printify, Gelato, Amazon Merch) you never n-up — the platform imposes for you. For self-fulfilled POD (Etsy with a home or local printer), n-up is the single biggest cost saver you have access to.
The math. A 4 × 6 inch postcard printed one-per-sheet on letter paper uses one sheet per card. The same postcard imposed 4-up on tabloid uses one tabloid sheet per four cards. A tabloid sheet costs roughly 1.6x the price of a letter sheet, so per-card paper cost drops from 1.0 to 0.4 — a 60% saving on paper alone. On a 100-card Etsy order that is meaningful margin.
When it does not apply. If you sell one product at a time (single-card Etsy orders shipping daily), n-up does not help because every print run is one card. The math works only when you batch-print multiple identical (or compatible) items. Consider weekly batch days rather than per-order printing if you are not already.
Case Study: A 54-Card Game on Self-Fulfilled POD
A small Etsy seller produces a custom card game: 54 unique cards per copy, sold for $29.99. They print at home on a duplex inkjet using cardstock and trim manually. Without imposition this is 54 × 2 = 108 single-sided prints per copy.
With 4-up imposition on letter cardstock:
- 54 fronts ÷ 4 cards per sheet = 14 sheets (with 2 blanks)
- 54 backs ÷ 4 cards per sheet = 14 sheets (with 2 blanks)
- Total: 28 letter sheets per copy instead of 108
That is a 74% reduction in sheets, which translates roughly to 74% reduction in paper cost, ink cost (though ink is dominated by coverage not page count) and print time. For a seller who fulfills 20 copies a month, the time savings are dozens of hours over a year.
The imposition workflow: take the 54-card source PDF (with each card on its own page), open in PDF Press, choose "Cut and Stack 4-up" with the card dimensions and 0.125 in gutter. The output is 14 imposed sheets for fronts (and 14 separate for backs if backs are different). Print, cut on a guillotine in a single straight cut horizontally and another vertically, and stack. See our n-up card printing guide for the detailed walkthrough.
Case Study: A 24-Page Zine on Gelato
A zine creator sells a 24-page A5 zine via Gelato. Gelato handles imposition for multi-page books, but only if the file is delivered correctly: single-page PDF with bleed, page count divisible by 4 (saddle stitch requirement), and page order in reading order (not impose order).
- Design the zine in 24 sequential pages at A5 trim size. Add 3 mm bleed on every edge.
- Confirm page count is divisible by 4. 24 ÷ 4 = 6, clean.
- Export to PDF/X-4 single pages with bleed. Do not export reader spreads.
- Upload to Gelato. Gelato's preflight will reject if bleed is missing or trim is wrong; otherwise it accepts and imposes for the press internally.
The creator never imposes. They do, however, have to nail bleed and page count. The most common Gelato rejection is "page count not a multiple of 4" — a five-minute fix that delays an order by a day if you do not catch it pre-submission.
Gelato supports both saddle-stitch and perfect-bound, with a clean cutoff at 64 pages — below that saddle-stitch is the cheaper and faster option, above that perfect binding produces a more book-like result. The creator does not need to specify which method; Gelato picks based on page count. The creator does need to design with the right page count for the intended method, because a 32-page perfect-bound zine costs more per copy than a 32-page saddle-stitch zine for no quality benefit.
Cheap and Reliable Proofs
Before shipping orders or uploading to a POD platform, proof your imposition on a home printer. The cost is the cost of one duplex print; the benefit is catching layout and bleed errors before they reach a paying customer.
For 4-up postcards or business cards: print one imposed letter sheet on regular paper. Trim manually with a ruler and X-acto knife. Verify the four trimmed pieces match the spec — size, bleed, color. If they do, the imposition is correct; print the production run on cardstock with confidence.
For zines and booklets: print the imposed PDF duplex on a home printer, fold the sheets manually, staple through the fold. The resulting proof booklet shows you exactly what the production booklet will look like, including any creep issues. Adjust the source if needed before submitting to the POD platform.
One detail that surprises first-time POD sellers: color accuracy on a home printer is not predictive of POD production output. Home inkjet printers run wide-gamut consumer inks; commercial POD presses run process CMYK with calibrated ICC profiles. Your home proof tells you about layout, bleed, page order and font issues — but not about exact color match. For color-critical products order one paid sample from the POD platform itself before doing a full run. Gelato, Printful and IngramSpark all offer sample products at production cost; spend the $5-15 once to verify color before fulfilling fifty orders that all come back with refund requests.
The Three-Step Free Workflow
The free workflow that handles every common POD scenario:
- Design with the platform template. Download the platform's official template for your product (Gelato PSD, Amazon KDP cover calculator, Printful product PSD). Drop your artwork in. Export to the requested format (PDF/X-4 for KDP, PNG for Merch and most others) with the requested bleed.
- For self-fulfilled only: impose with PDF Press. Drop the source into the n-up imposition tool. Pick the appropriate n (4 for postcards, 12-30 for business cards). Confirm gutter and bleed. Download the imposed PDF.
- Deliver or upload. Print self-fulfilled at home or your local print shop; upload to the platform for platform-fulfilled.
Total time once practiced: 5-10 minutes per product. Cost: zero. Output: press-ready files that match every major POD platform's preflight requirements.
One more consideration for sellers who scale up: batch your product preparation. A common pattern is to add a new product to your shop on day one (design + template + export), then re-use the same imposition preset for every subsequent product of the same shape. The first new postcard takes ten minutes; the next nineteen postcards take two minutes each because the preset is already built. Saving named presets in PDF Press by customer or product line pays back on the second order. The same logic applies to bleed and trim specs — every product type has a stable spec, so building a small internal cheat-sheet (5 × 7 = 0.125 in bleed, A5 zine = 3 mm bleed) eliminates the per-product spec-sheet hunt and removes the most frequent source of rejections.
Where PDF Press Fits
PDF Press is the imposition step of the workflow above. It is free, runs in the browser via WebAssembly, and handles n-up imposition, saddle-stitch booklets, perfect-bound books, and step-and-repeat layouts. POD sellers use it primarily for self-fulfilled work where the platform does not impose — Etsy local-printing, custom card games, batch-printed stickers and labels.
For platform-fulfilled POD (Printful, Amazon Merch, etc.) you do not need an imposition tool at all; the platform handles it. The PDF Press value in those cases is the one-step page-count check, the bleed verification preview, and as a proofing tool — open the file you are about to upload and verify it looks right. Try it from the PDF Press home page.
Common POD File Rejections
The rejections that come up over and over, each with the fix:
- Bleed missing. Re-export the source with the platform's required bleed (3 mm, 0.125 in, etc.) on every trimmed edge.
- Trim size wrong. Check the platform spec sheet down to the millimeter and re-set the document size.
- Page count not divisible by 4 (saddle-stitch book). Add or remove pages until it is. Most platforms suggest blank pages at the back.
- RGB instead of CMYK. Some platforms accept RGB and convert internally; others reject. Default to CMYK for any print product.
- Fonts not embedded. Re-export with "Embed all fonts" enabled. Avoid PDF/A which substitutes fonts.
- Resolution below 300 DPI. The platform rejects low-res raster artwork. Re-export at 300 DPI for the trim size.
- Spine width wrong on a book cover. Recalculate spine = (page count ÷ 2) × paper caliper. Most platforms have a per-stock calculator.
- Reader spreads instead of single pages. Re-export with "Pages" instead of "Spreads" in the export dialog.
Try it yourself
PDF Press runs entirely in your browser. Upload a PDF, pick a tool, and download the result — fast and private.
Open PDF Press22 Professional Imposition Tools
Every tool runs locally in your browser — fast, private, and professional-grade.
Frequently Asked Questions
Related Articles
Ready to try professional PDF imposition?
PDF Press is a browser-based imposition tool with 22 professional tools. No installation required.
Open PDF Press