Add cutter marks to PDFs
Use PDF Press to place crop, center, registration, and cutter camera marks on PDFs. It is built for digital print, wide-format, label, and packaging teams, with local browser processing and a live preview before export.
Direct answer
What is add cutter marks to PDF?
Adds machine-readable registration marks for automated cutting, creasing, and perforation equipment.
Unlike simple crop marks (visual trimming guides), these registration marks are read by optical sensors on digital cutting systems (Zünd, Kongsberg, Esko, Graphtec). The camera detects mark positions to align the cut path with the printed image. Supports configurable shapes, key marks for orientation detection, and separate dieline layers for different finishing operations.
How to use Cutter Marks
Upload files
Start with your source PDF or image files. Processing happens locally in the browser.
Add Cutter Marks
Configure Cut Type, Registration Marks, Key Mark and any production settings that match the job.
Preview the result
Check page order, marks, scaling, and output geometry before committing the export.
Download output
Export the finished PDF for proofing, press, finishing, or another PDF Press step.
Best use cases
Key settings
Cut Type
Choose the primary finishing operation: thru-cut, kiss-cut, crease, or perforation.
Thru-cut: blade goes completely through the material (standard trimming, die-cutting). Kiss-cut: penetrates only the top layer, backing stays intact — standard for peel-off sticker sheets. Crease: creates a fold line without cutting through — for boxes, cards, and folded items. Perforation: alternating cut/uncut segments for tear-away sections (tickets, coupons, response cards).
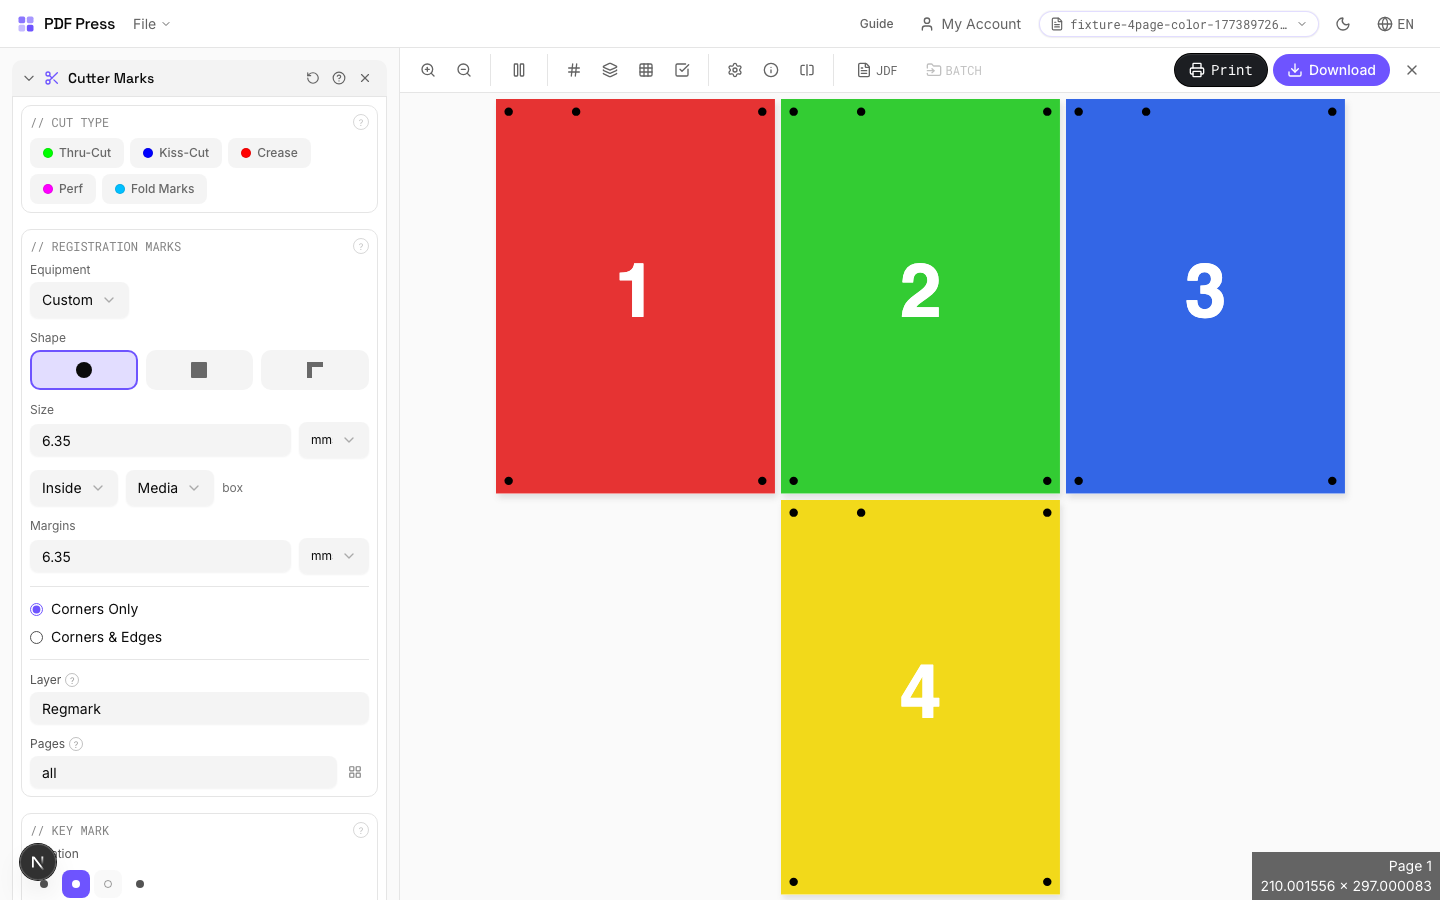
Registration Marks
Configure the shape, size, spacing, and placement of the marks the cutter camera reads.
Circle (most universal): compatible with nearly all cutting equipment brands. Square: slightly faster camera detection on some systems. Corner (L-shape): encodes both position and orientation in a single mark. Size: typically 5–10mm. Distance from artwork: 3–5mm. Knockout: adds a white halo around each mark so it remains visible on dark or colored stock — essential for non-white substrates.
Key Mark
An asymmetric orientation mark that prevents the cutter from processing sheets 180° rotated.
Placed near one corner (configurable: any of the 8 edge positions). The cutter's camera uses this mark to determine sheet orientation. Critical for asymmetric designs where a 180° rotation error would ruin the output. Without a key mark, perfectly symmetric designs may be processed upside-down without detection.
Dielines
Vector paths defining different finishing operations on the cutting table, each as a separate layer.
Thru-cut line: full cut through material. Kiss-cut line: partial-depth cut (top layer only). Crease line: score/fold without cutting. Perforation line: alternating cut/uncut for tear-off sections. Overshoot: how far each line extends past the artwork edge — ensures complete cuts even with slight registration drift. Typical overshoot: 0.5–1mm.
Artwork
Defines which PDF box type determines the artwork boundary for mark placement.
TrimBox: the intended final trim size (most common choice). BleedBox: includes bleed area beyond trim. MediaBox: full page including all margins. CropBox: the visible area in most PDF viewers. Registration marks and dielines are placed relative to the selected box type. Using the wrong box type causes marks to be offset from the actual artwork.
Expert tip
Keep mark distance at 3 mm minimum from the trim edge so the marks do not appear on the finished piece. Use thru-cut marks for standard trim and kiss-cut marks for peel-off stickers.
If you have both crop marks and registration marks, offset them so they do not overlap. Overlapping marks confuse automated cutting cameras.
Production recipes using Cutter Marks
Saddle-Stitch Booklet
Standard saddle-stitched booklet. The most common short-run binding method.
Saddle-Stitch with Bleeds
Saddle-stitch booklet with synthetic bleed generation for artwork delivered without bleeds.
Perfect-Bound Book
PUR/hot-melt perfect binding for books with 48+ pages.
Perfect-Bound with Color Bar
Perfect-bound book signatures with inline color bars for press density control.
Frequently asked questions
What is the Cutter Marks tool used for?
Adds machine-readable registration marks for automated cutting, creasing, and perforation equipment.
Who should use add cutter marks to PDF?
It is built for digital print, wide-format, label, and packaging teams. Common use cases include Digital Finishing, Die Cutting, Automated Trimming, Packaging.
Do my PDF files upload to a server?
No. PDF Press runs the PDF processing workflow in your browser, so your files stay on your device.
Can I use Cutter Marks with other PDF Press tools?
Yes. You can combine it with other PDF Press tools in a multi-step workflow, then preview and export the final PDF.